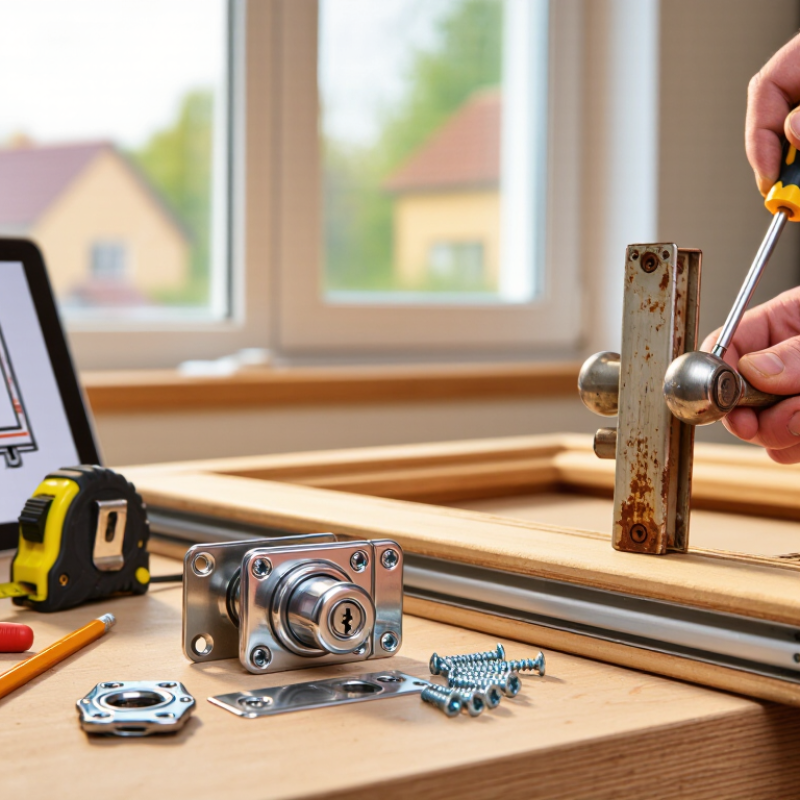
| 1 |
Replace a damaged surface-mounted latch |
Casement and awning windows with an exposed latch body |
Screwdriver, measuring tape, drill, replacement screws |
Record the latch dimensions and screw spacing. Remove the old latch, position the new one in the same location, and tighten the fasteners without overtightening. |
Close the sash slowly and confirm that the latch engages without forcing the handle. Adjust the position if the locking points do not align. |
30–60 minutes |
Apply a small amount of silicone-based lubricant to moving contact points once or twice a year. |
| 2 |
Install a replacement espagnolette gearbox |
Tilt-and-turn or multipoint windows with a central handle mechanism |
Screwdriver, hex key, ruler, replacement gearbox |
Remove the handle and edge screws, slide out the old gearbox, and match the backset, spindle height, faceplate length, and locking-point layout before installing the replacement. |
Operate the handle with the window open first. Then test the tilt, turn, and locked positions with the sash closed. |
60–120 minutes |
Keep the locking rods clean and use only a light, non-sticky lubricant on the moving components. |
| 3 |
Replace a broken window handle |
Windows where the lock body works but the handle is loose, cracked, or stripped |
Screwdriver, replacement handle, spindle measurement tool |
Remove the cover plate and fixing screws. Match the spindle length and fixing-hole spacing, fit the new handle, and secure it evenly. |
Turn the handle through every position while the sash is open. Stop if the handle binds or the spindle does not seat fully. |
15–30 minutes |
Check the fixing screws periodically and tighten them gently if the handle develops movement. |
| 4 |
Renew worn shoot-bolt rods |
Multipoint window locks with bent, shortened, or disconnected rods |
Screwdriver, pliers, ruler, replacement rods or connectors |
Remove the handle and faceplate as required. Compare the rod length and end fittings, replace damaged parts, and ensure the rods remain straight in their guides. |
Test every locking point with the sash open, then check that the rods enter their keeps without scraping. |
60–120 minutes |
Clear dirt from the rod channels and avoid painting over the moving parts. |
| 5 |
Replace worn locking keeps |
Frames where the lock works but the receiving plates are bent, loose, or damaged |
Screwdriver, drill, pencil, replacement keeps, measuring tape |
Mark the existing position, remove the damaged keeps, fill weak screw holes if necessary, and install the new plates so the lock engages centrally. |
Use a small amount of removable marking compound on the locking point to identify contact and alignment. |
30–60 minutes |
Inspect the screws and frame material for movement after the first few weeks of use. |
| 6 |
Replace a worn sash lock |
Single-hung, double-hung, or sliding windows with a cracked or unreliable sash lock |
Screwdriver, drill, replacement sash lock, wood filler if needed |
Remove the old lock, check that the sash edges meet correctly, repair stripped holes, and install the replacement at the original centerline. |
The lock should close with moderate hand pressure and hold the sashes together without causing frame distortion. |
30–60 minutes |
Do not use the lock to pull a misaligned sash into place; correct the sash or track alignment first. |
| 7 |
Replace a keyed window lock cylinder |
Locks with a damaged cylinder, lost key, or stiff key operation |
Screwdriver, replacement cylinder, key, measuring tape |
Place the lock in the correct position, remove the retaining screw, withdraw the cylinder, measure its length, and fit the matching replacement. |
Test the key from both sides where applicable before closing the window. The key should turn smoothly without excessive force. |
20–45 minutes |
Use a lock-specific dry lubricant sparingly; avoid oil that can collect dust inside the cylinder. |
| 8 |
Replace a damaged sliding-window latch |
Horizontal sliding windows with a broken latch or hook mechanism |
Screwdriver, hex key, replacement latch, measuring tape |
Remove the latch, compare the hook direction and mounting pattern, and install the new unit without obstructing the sash track. |
Slide the sash fully closed and confirm that the hook enters the keeper. Check that the latch does not interfere with weather seals. |
30–60 minutes |
Vacuum the track and wipe it dry; excess grease in the track can attract grit and increase resistance. |
| 9 |
Replace a friction-stay locking assembly |
Casement windows with worn stays that prevent secure closing or controlled opening |
Screwdriver, support blocks, replacement friction stay, measuring tape |
Support the sash, remove the old stay, match the track length and hinge geometry, and attach the new assembly to sound frame material. |
Open and close the sash gradually. Confirm that the stay holds the intended opening position and that the main lock reaches its keeps. |
60–120 minutes |
Keep the friction track free of paint and debris; lubricate only according to the assembly instructions. |
| 10 |
Upgrade the complete locking assembly |
Windows with several failed components, severe corrosion, or obsolete parts |
Screwdriver, drill, measuring tools, replacement assembly, safety glasses |
Document the existing handle height, backset, faceplate size, screw spacing, and locking-point positions before removing the complete mechanism. |
Perform an open-sash test, a closed-sash alignment test, and a gentle security check. Never force the handle to overcome misalignment. |
2–4 hours |
Inspect the full system every six to twelve months and replace loose fasteners or damaged keeps promptly. |
 Jefort Hardware